Azure Logic Apps are great for automating tasks, and there is a plethora of actions available out of the box. However, sometimes these don’t work the way you would like, so it comes down to failing back to the old tried-and-true methods. I recently came across this with Azure Key Vaults.
For the uninitiated, Azure Key Vaults are security enclaves deployed within Azure data centers that are used for the sole purpose of key and secret storage. This allows the escrow of these sensitive pieces of information in dedicated hardware, which can only be retrieved by an account with the proper permissions. These Key Vaults are also ridiculously inexpensive, costing only $0.03/1000 operations (for standard Key Vaults) which makes them a no-brainer for usage.
Out of the box, Azure Logic Apps do have integration with Azure Key Vaults via an action (currently in preview at the time of writing). However, this integration only offers two means of authenticating to the Key Vault:
- Creating a connection using a named user
- Authentication via a pre-created Service Principal

These options have a major downfall: the management of a password or secret for connectivity. By signing in with my account (or a service account), that means that if I or that account are ever offboarded, this connection is broken and must be reestablished. Service Principals can help mitigate this, but the secret that’s used must be managed, or set to never expire (which I prefer not to do as a security hole).
The fix: Managed Identities!
Managed Identities in Azure AD are like (group) Managed Service Accounts (gMSAs) in Active Directory: The principal is created and a randomly-generated password is used and managed by Azure AD. This significantly reduces the attack surface of this account, as the password is never exposed to anyone, and the lifecycle of the identity (for system-managed) is tied to the resource: when it is deleted, the Managed Identity is removed as well. Managed Identities can be used with many different Azure resources, including Virtual Machines, and in our case, Logic Apps!
Creating the Managed Identity
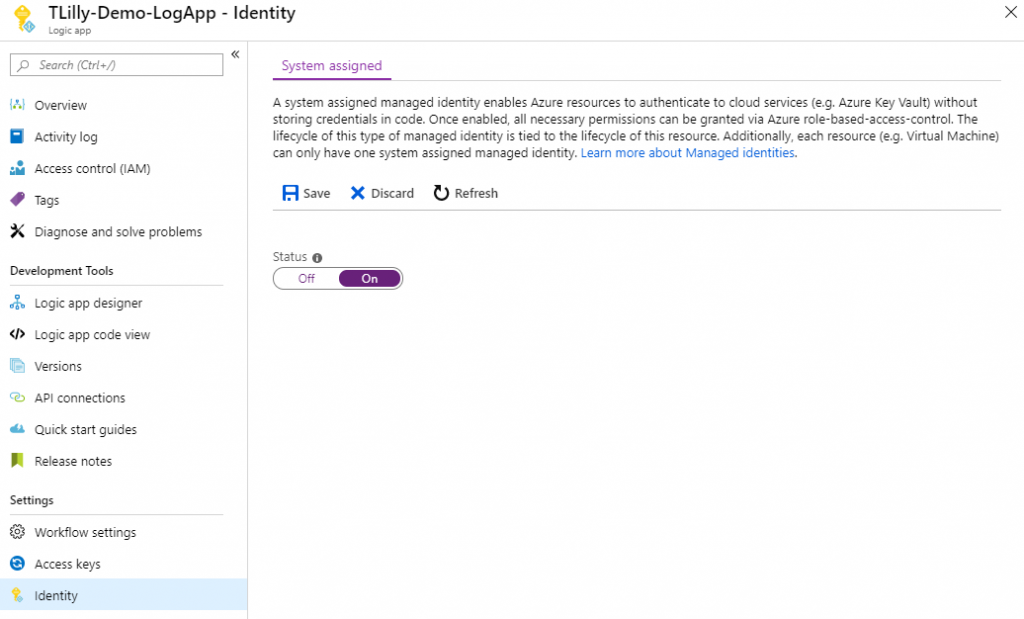
Creating the Managed Identity is extremely simple. Within the Logic App, simply navigate to the Identity area of the Logic App blade, and switch the Status to On. This will automatically create the identity in Azure AD and provision all the backend items.
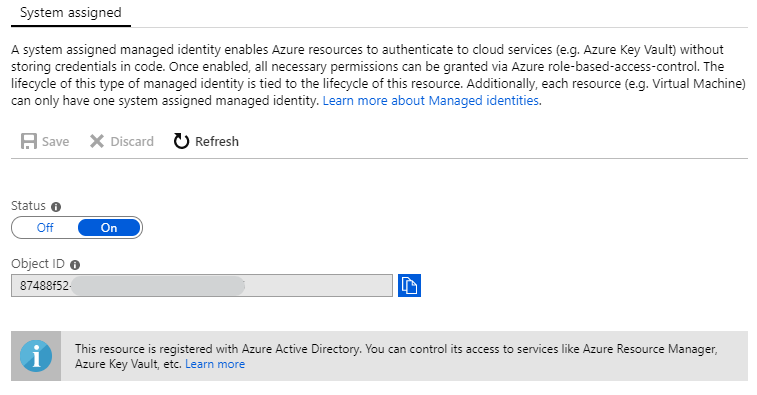
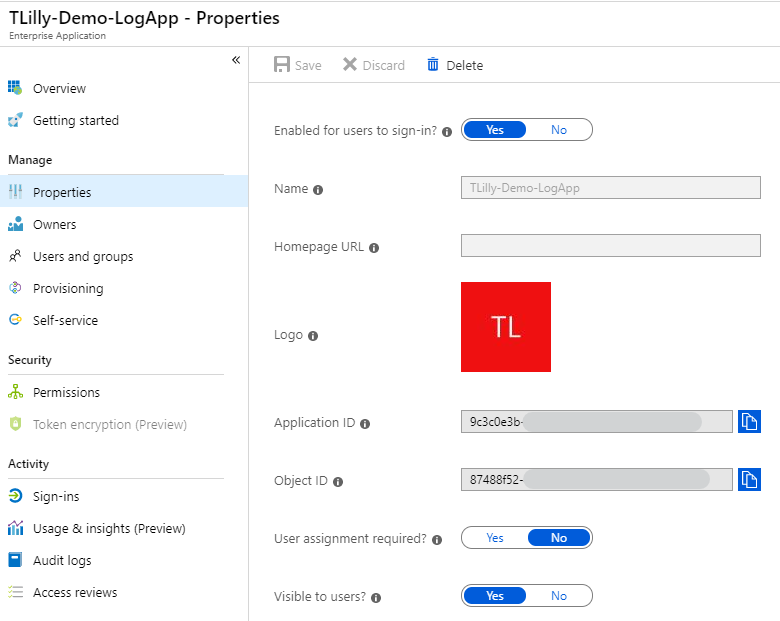
Once this configuration is saved, the Object ID will be displayed and the object can be found in Azure AD using the name of the Logic App or the Object ID.
Phew, that was difficult! Now we can assign that Managed Identity rights to our resources.
Assigning the Managed Identity Within Azure Key Vault
Once our Managed Identity is created, we can assign it to secrets in the Key Vault. I’m going to create a secret for our purposes for this Logic App.
The first step is to create the secret, which is no different than normal in a Key Vault. Navigate to the Key Vault, select Secrets, and add a new Secret.
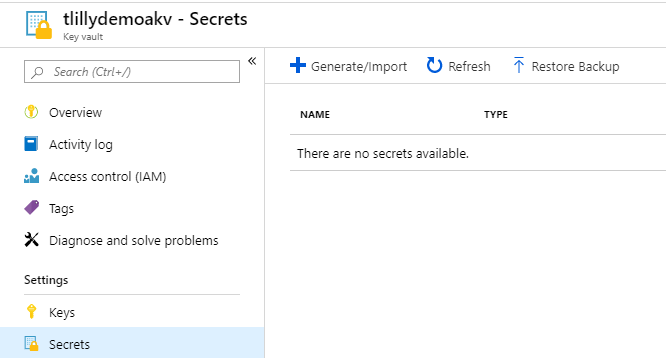
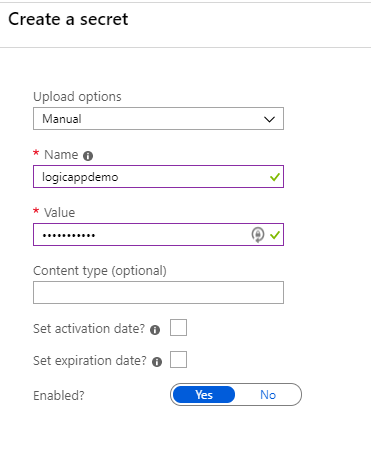
Once the secret is created, we can set our Access Policy in the Key Vault. Note down the URI of this Secret, we will need this later.
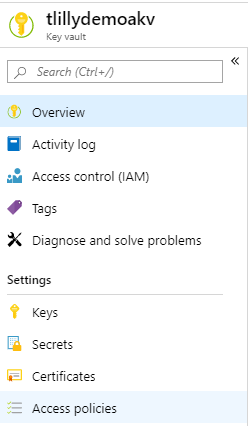
First we navigate to Access Policies and Add New
In the Access Policy, we select our Managed Identity and give it permissions to read Secrets.
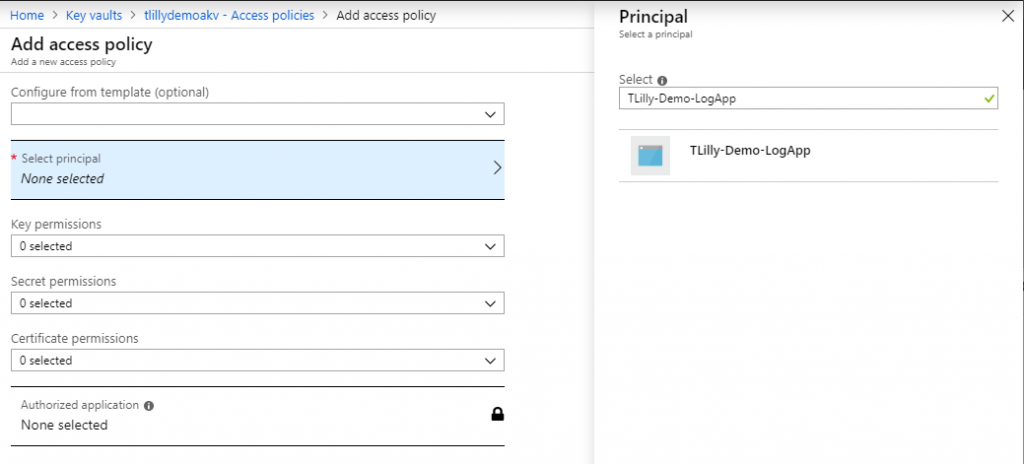
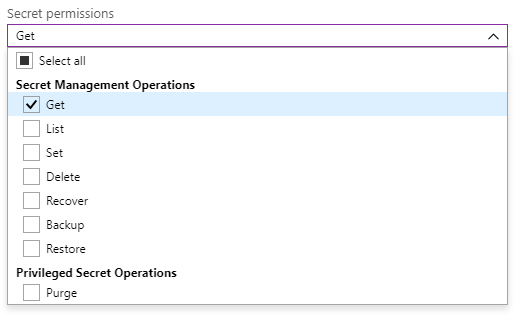
Our Managed Identity can now retrieve Secrets from this Key Vault. Now comes the fun part where we use it in a Logic App
Using Stored Secrets in a Logic App
Now we can put it all together.
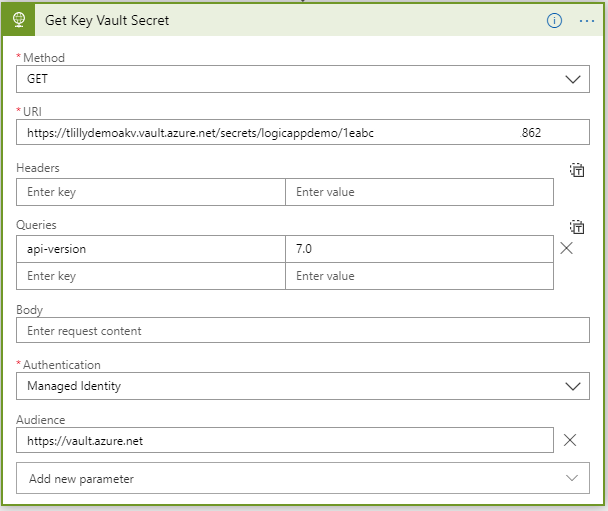
Within the Logic App, instead of using the Key Vault action to retrieve Secrets, we will instead use an HTTP request. We will use the following parameters:
- Method: GET
- URI: <Key Vault Secret URI>
- Queries: api-version=7.0
- Authentication: Managed Identity
- Audience: https://vault.azure.net (This is accessible via the Add New Parameter dropdown)
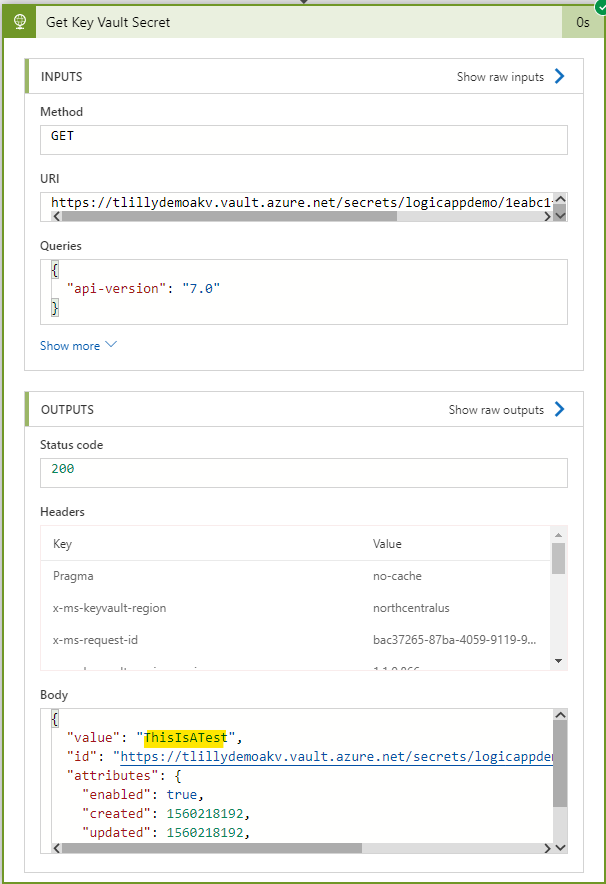
By running this manually, we now see that the Secret is returned:
Now I can send this to a simple Parse JSON activity to extract the secret, which can then be used in later activities.
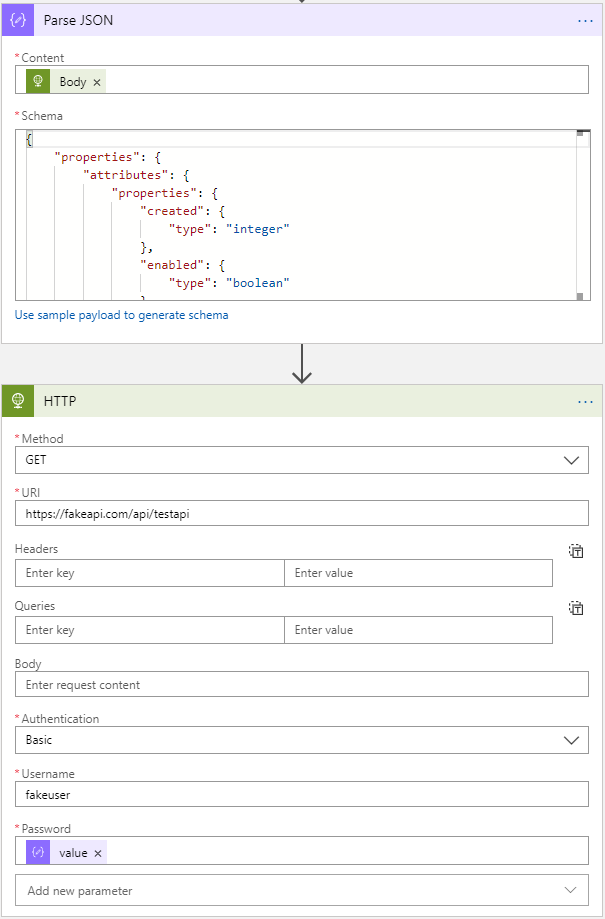
And that’s it! I’ve now retrieved a Secret from an Azure Key Vault using a Managed Identity!


